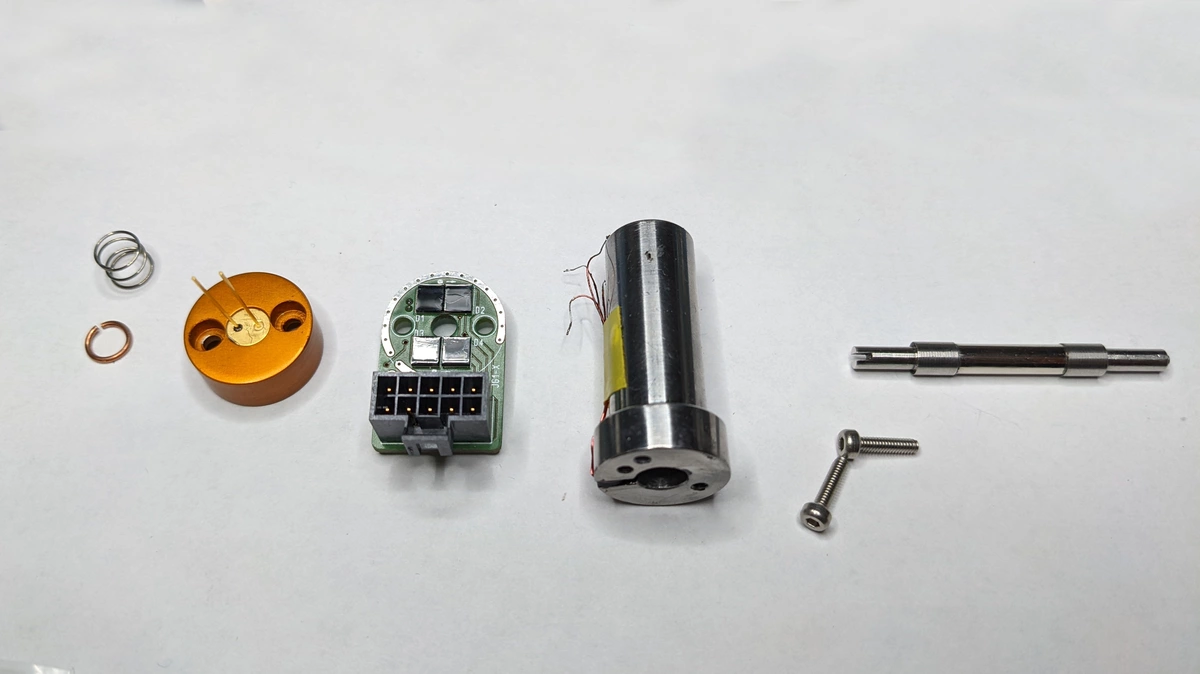
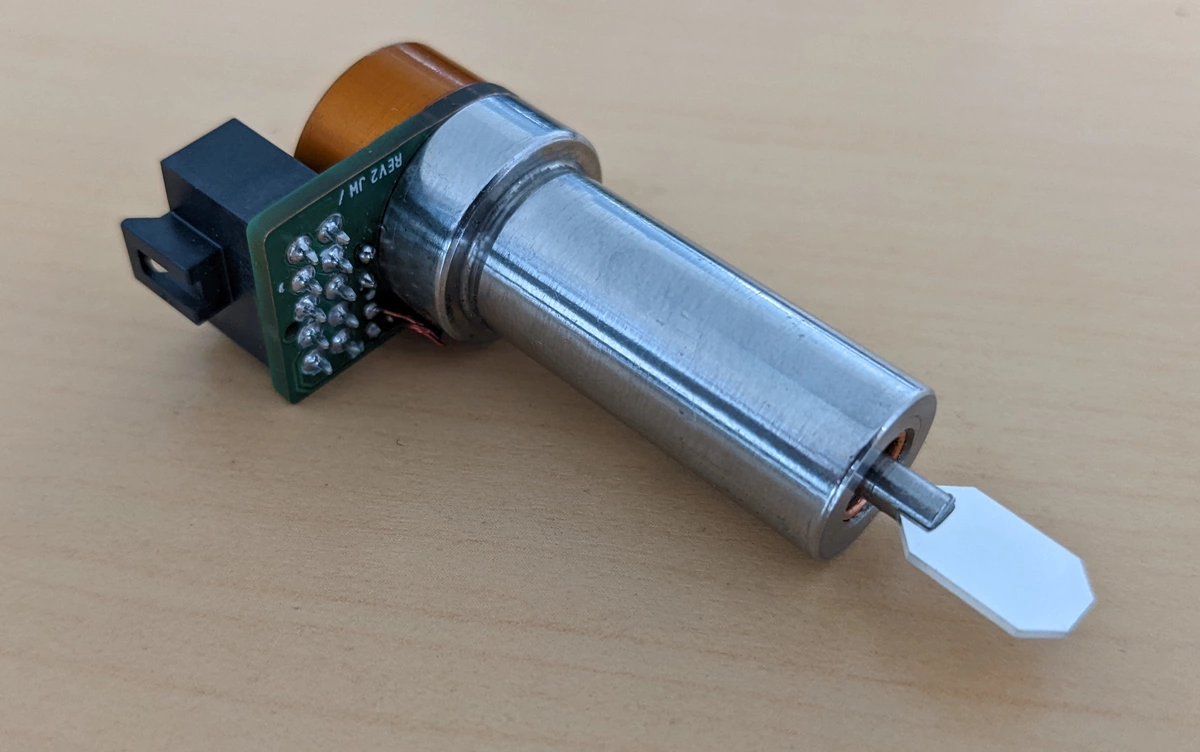
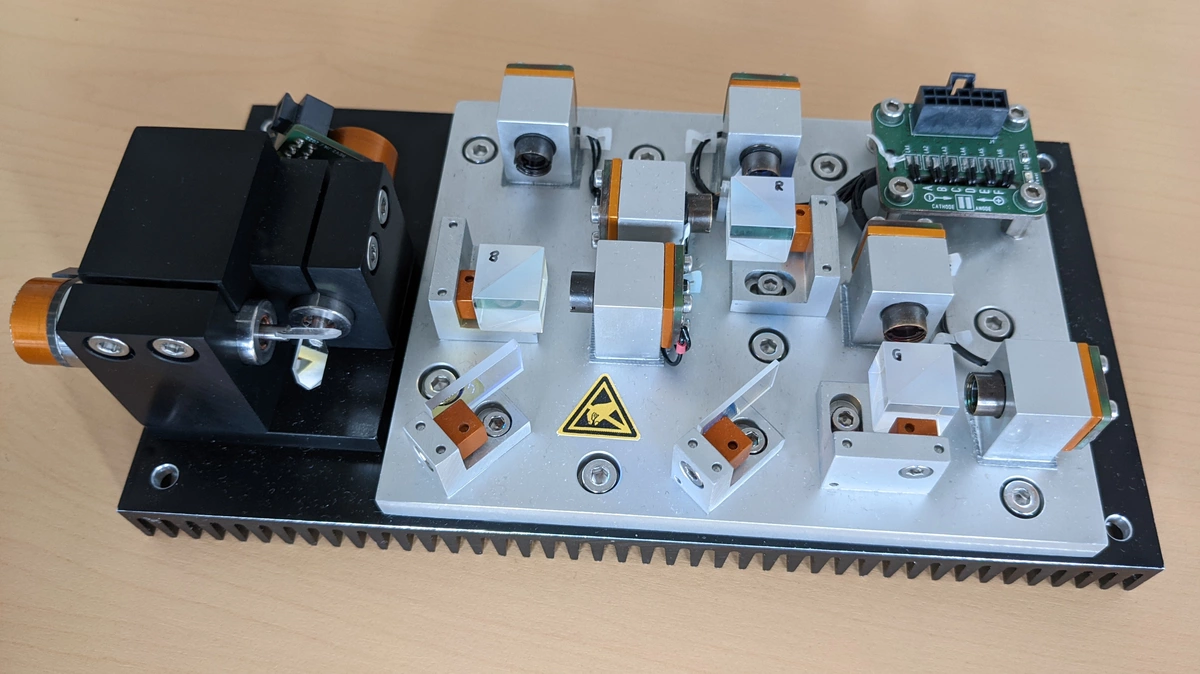
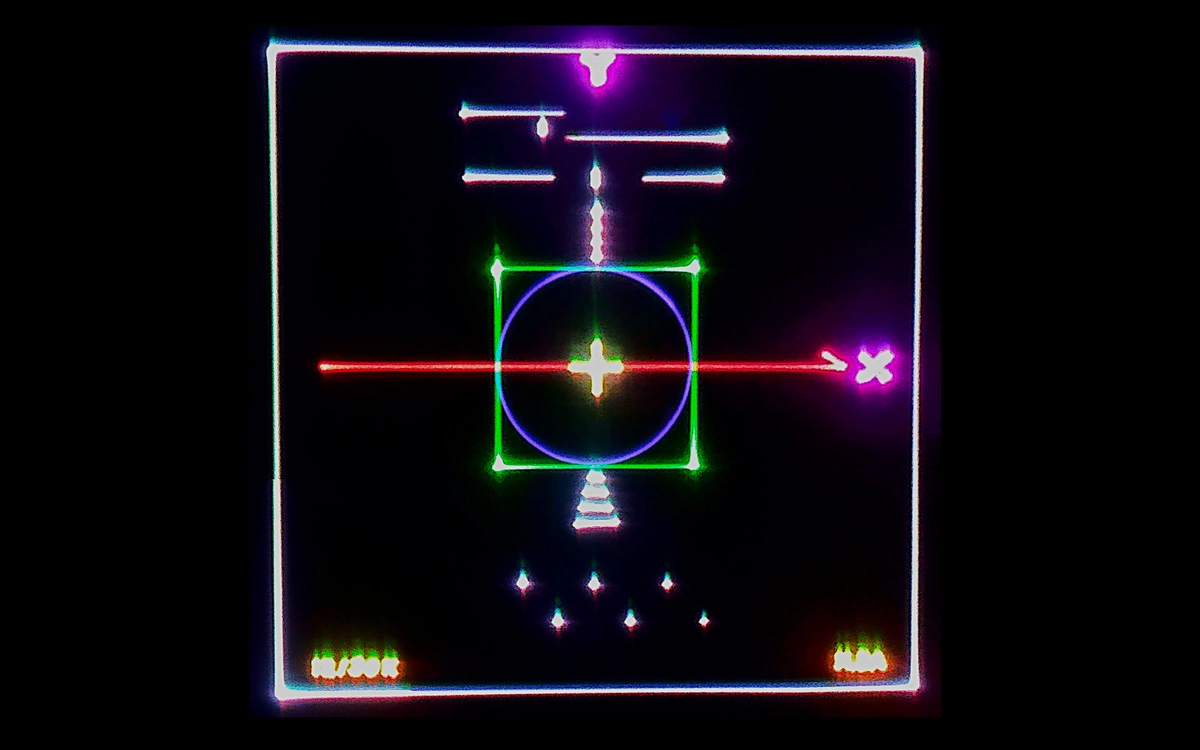
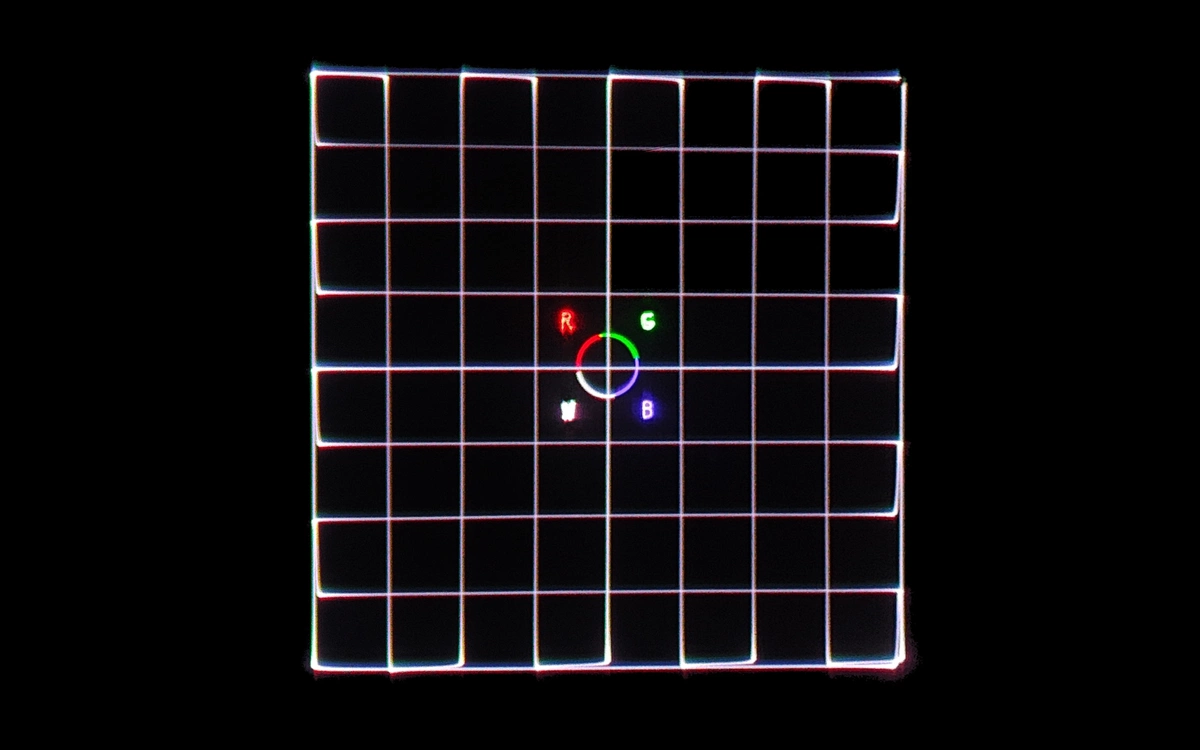
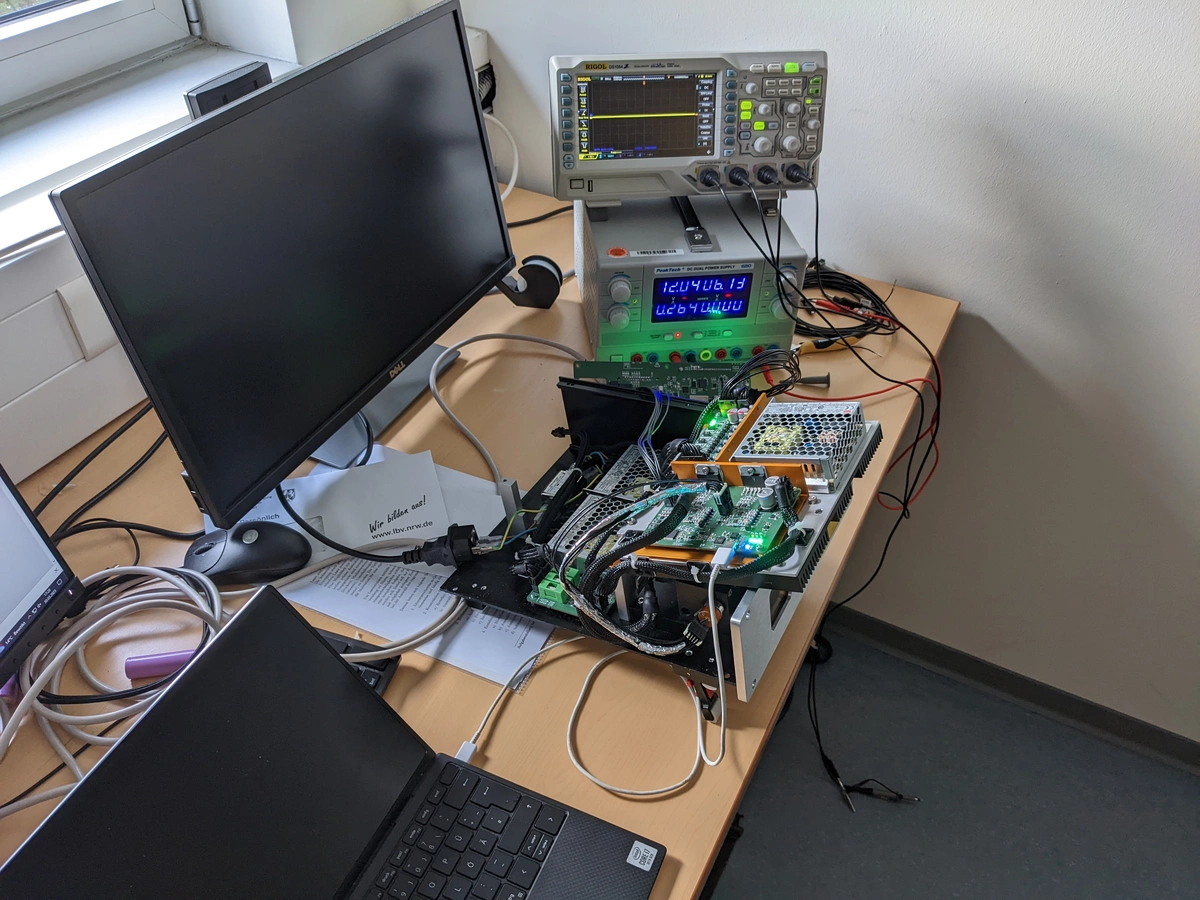
The completed scanner assembly was used in my 750mW projector build.
Laser projectors use galvanometric scanners to steer a laser beam along a pre-defined trajectory. Using persistence of vision, this allows to create 2D shapes and visual effects. Two mirrors are rotated using magnetic actuators optimized for precise high bandwidth movement. Since the beam trajectory is induced by finite mechanical deflection, there are very real limits to scanning speed. Building a mechanical scanner assembly that can follow arbitary trajectories at high speed is more difficult than one might think. This build implements a basic moving magnet actuator design with digital servo control. The motors are not the fastest, reaching ILDA-12k at 16° optical deflection, but it has a certain charme watching laser shows using my own scanners.
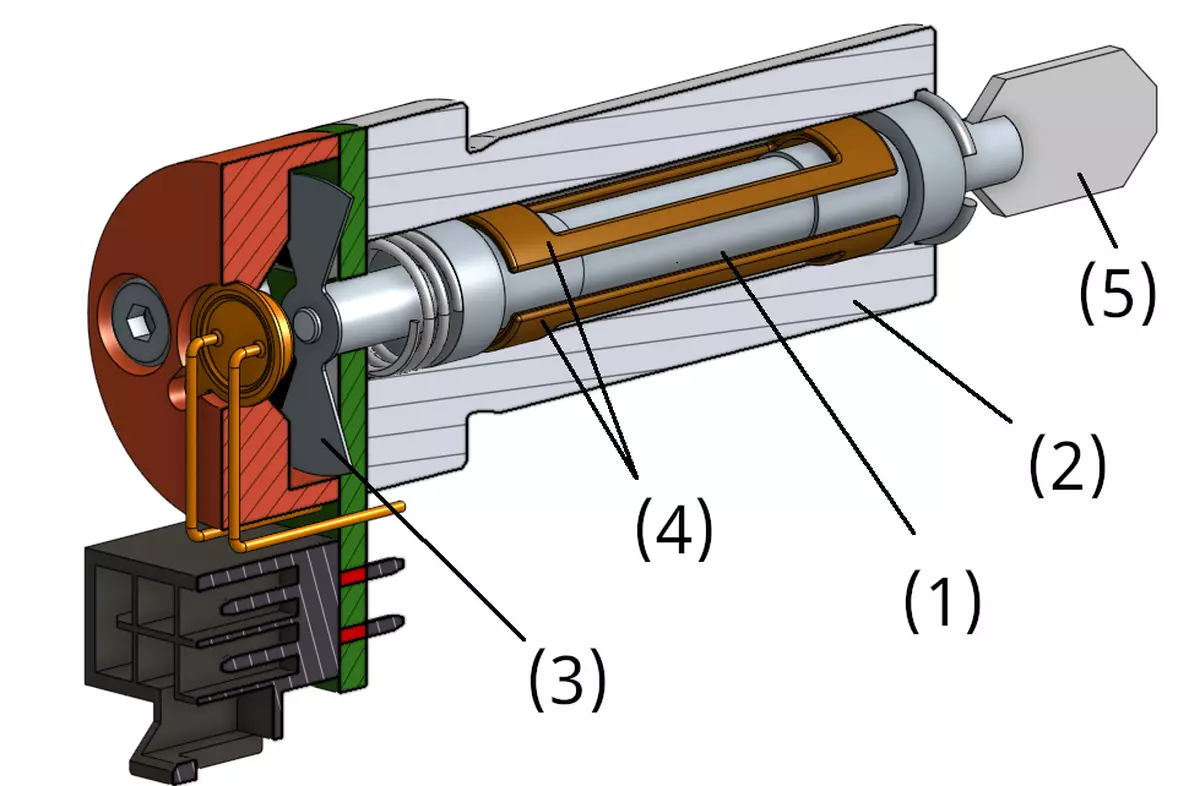
The moving magnet motor design used in this project was first patented by Jean Montagu in 1976. The rotor is formed by a permanent magnet (1). Torque is generated by introducing a current path in the rotor's magnetic field (4). A metallic stator (2) reduces magnetic reluctance and conducts heat away from the motor coils.
The rotor position is measured using a detector (3) allowing closed loop control. The laser beam is deflected using a surface mirror mounted on the galvanometer shaft (5).The rotor's maximum speed is limited by various friction effects that can be modeled using linear (Stokes) coefficients. This results in integrating first order low pass (PT1-I) transfer characteristics. While the output will remain within certain limits, the lack of a centering device implies that the motor is not asymptotically stable. For practical operation the rotor position has to be closed loop controlled. The lack of centering spring also results in a more linear acceleration response, as resulting torque is less dependent on rotor position. The torque generated is however a function of the rotor angle and gets less linear with increasing rotor angle.
Since this build is intended for light show applications, my primary goal was to maximize closed loop bandwidth. For rapid changes in velocity, as much torque as possible should be generated while keeping rotor inertia as low as possible. This is typically achieved by constructing a very thin and long rotor. Commercial galvanometers mainly utilize rare earth magnets with a diameter of 3mm. Since I could not find magnets matching this shape, I used thicker 4x20mm cylinder magnets instead. This introduces a lot of rotor inertia (roughly 6 times higher than a 3mm magnet of equal length). The magnet does however also produce more torque than the thinner variant and forms a stiffer rotor body. This allows mounting of high inertia mirrors for steering thicker laser beams.
Motor torque primarly depends on magnetic field strength, inductor current and coil windings. This also motivates the use of Neodymium rare earth (NeFeB) magnets. NeFeB magnets feature a very high field-strength-to-mass ratio, allowing for low inertia rotors while maintaining high torque. Having little rotor inertia and high torque results in fast acceleration and ultimately a large closed loop bandwidth. To make sure the stator coils are saturated with a high magnetic flux density, the air gap between rotor and coils should be as small as possible. Air has a high magnetic reluctance and can be considered as a resistor preventing fast acceleration.
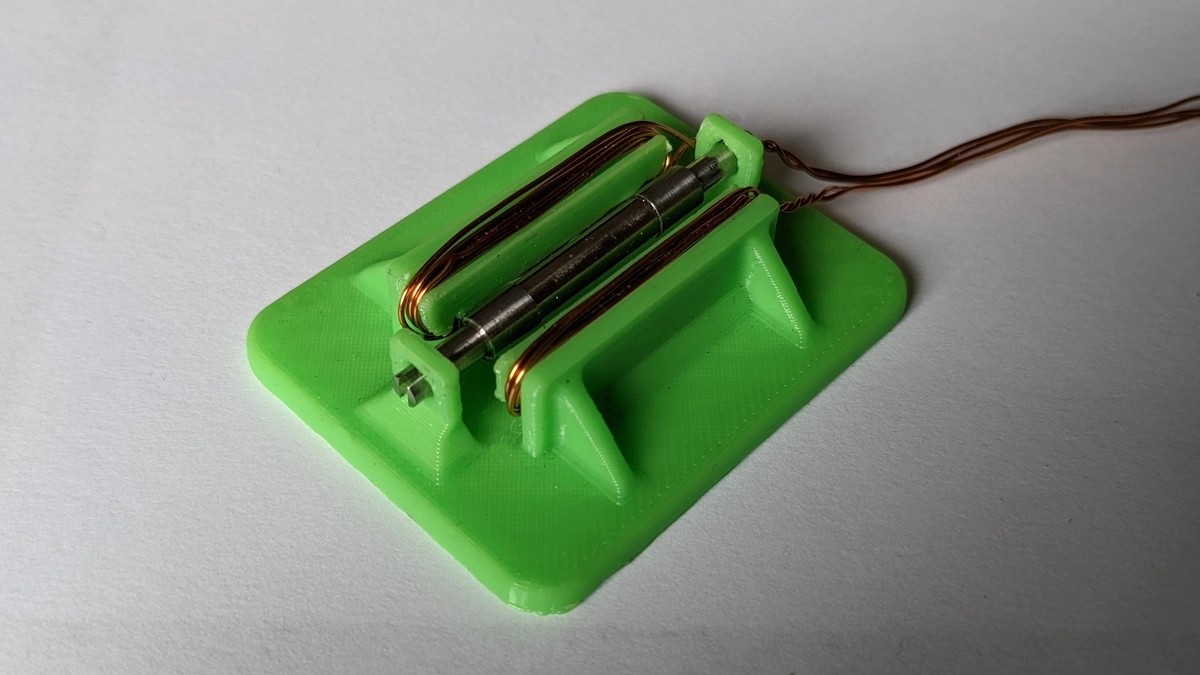
I designed and 3D-printed a small jig to align the rotor's magnetic poles. Two air-core coils generate a parallel magnetic field. When applying a small current through the coils, the rotor automatically moves to the asymptotically stable 90° position. When assembled, the rotor field should be aligned orthogonally to the current vector in the actuator coils when the rotor is in the 0° position, generating maximum torque around the center.
Especially when using a non-integrating controller design, stick-slip effects cause image distortion when scanning small changes in angular position. I used ceramic hybrid ball bearings to minimize friction. Aside from providing very little damping, the bearing's ceramic rollers are also much lighter than steel bearings. Since the rollers are quite far from the center, any mass introduces additional rotor intertia. High inertia bearings also increase sliding effects in the bearings causing destruction of the bearing surface.
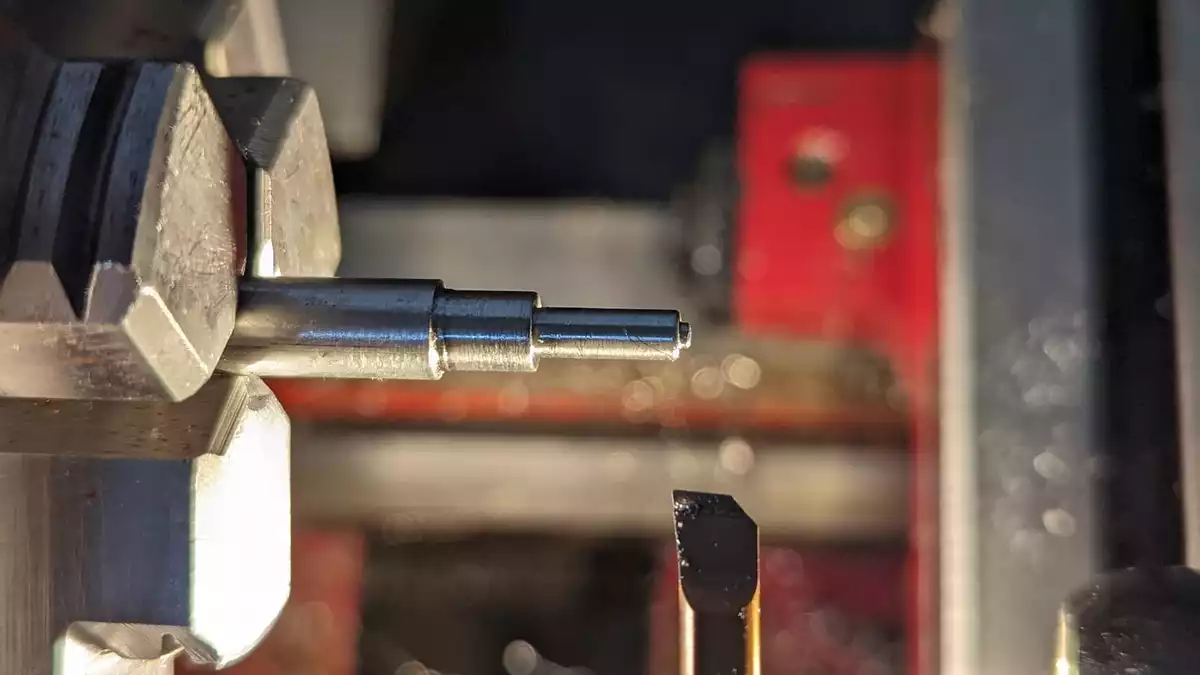
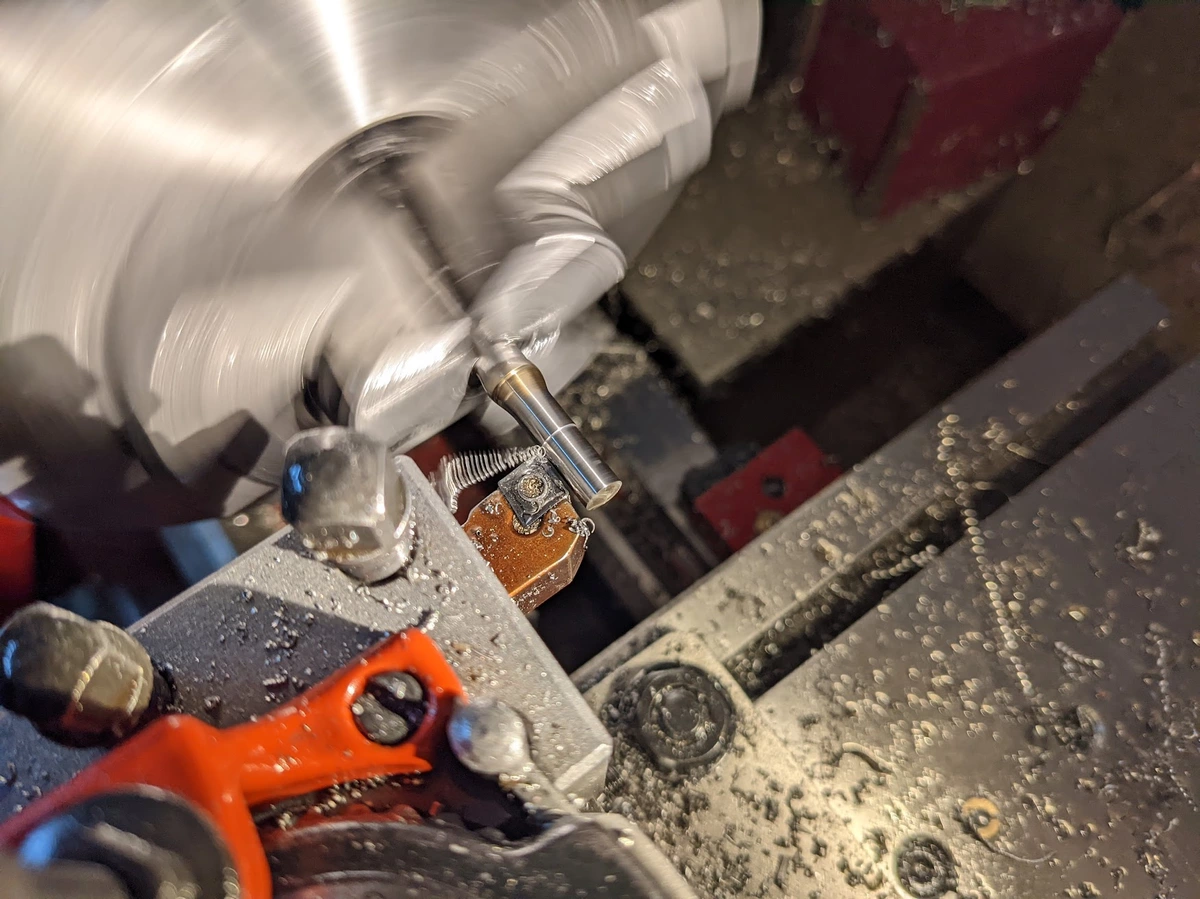
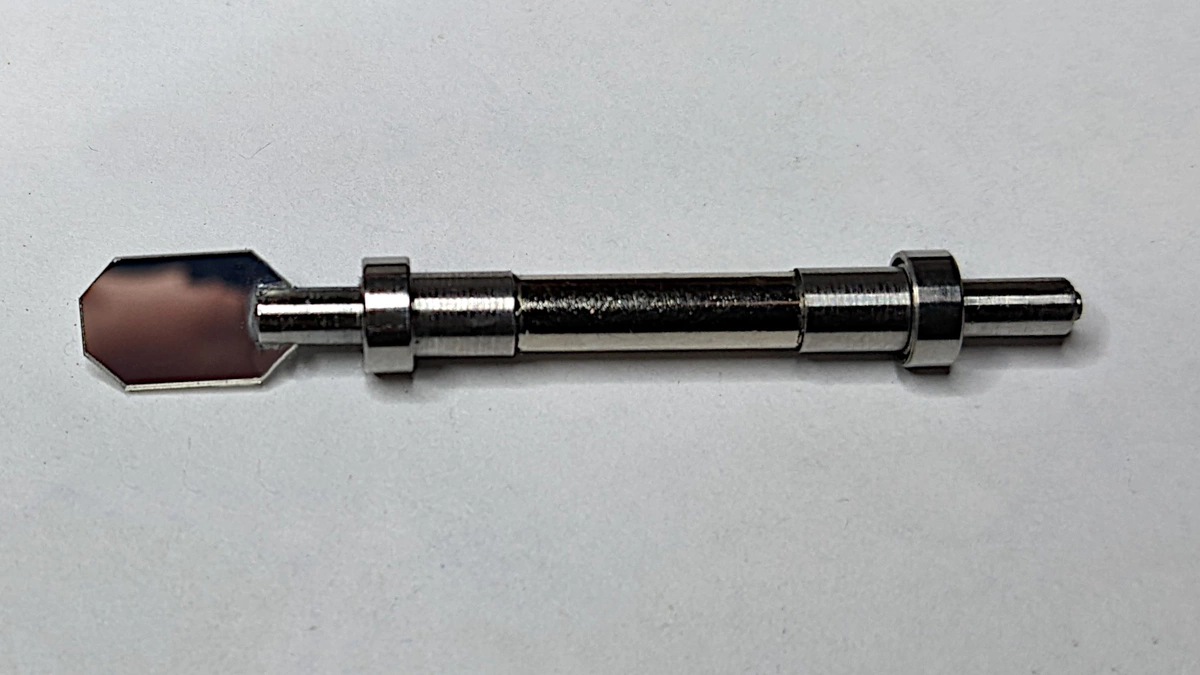
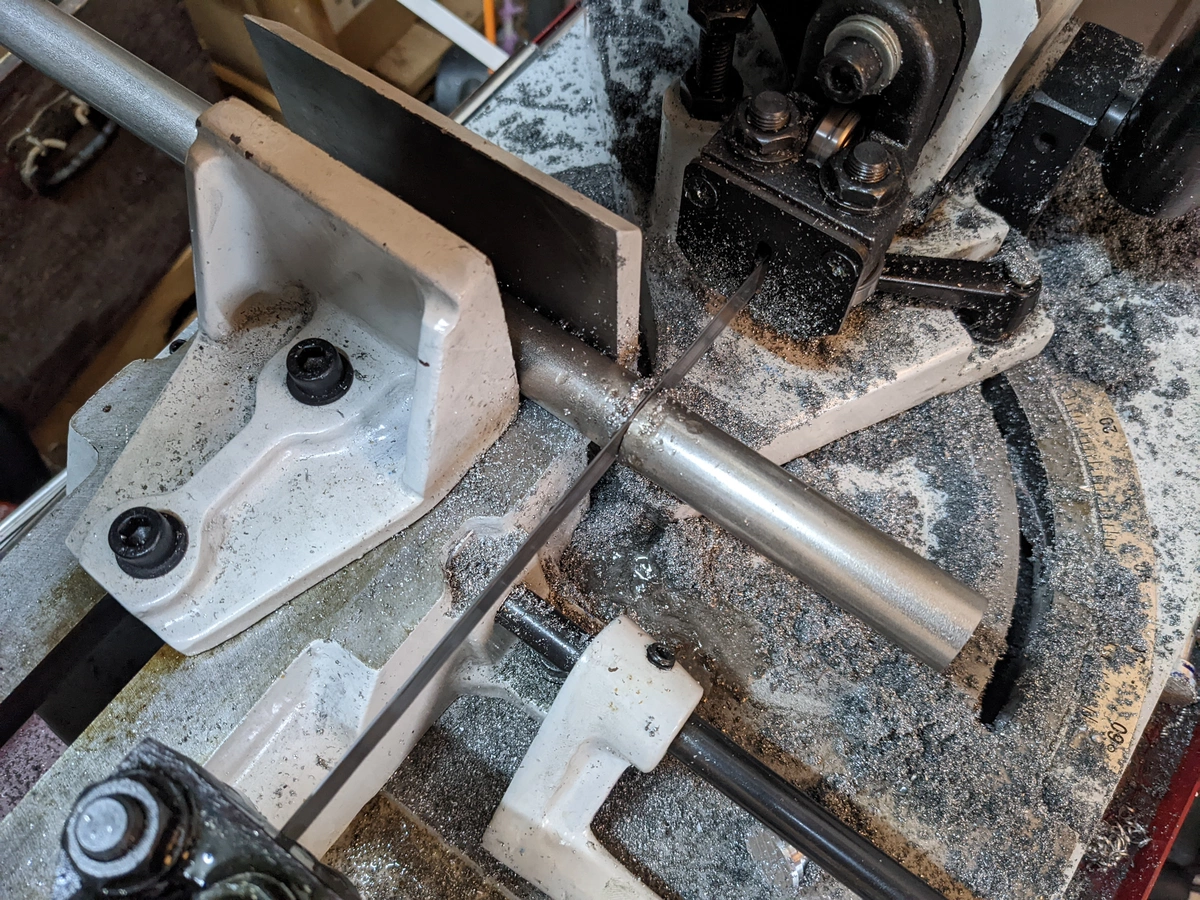
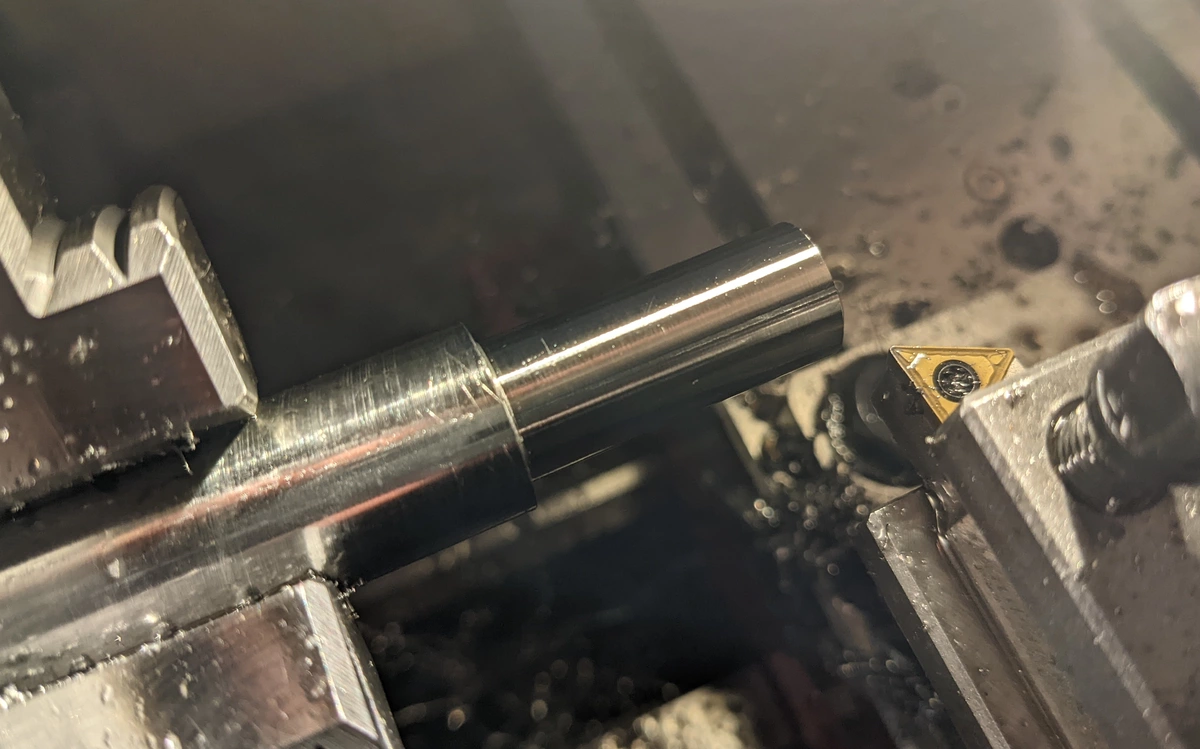
I machined two shaft segments from austenitic stainless (1.4301). Since the magnetic field constantly changes, the load point of the bearing rings is also dynamic. By press-fitting the bearings, I avoid interference corrosion between shaft and inner bearing race. I chose to machine very thin walls (0.15mm) for the magnet mount to minimize the air gap. Thin walls do not allow press-fitting the rotor, as the tension required for adequate fit can not be reached due to plastic deformation of the metal (non-elastic deformation). I assembled the rotor using epoxy adhesive instead.
I machined stators from ferritic stainless steel. Ferrite has a high magnetic permeability and low coercive field strength, minimizing stator non-linearity and magnetic reluctance. The stator bores were pre-drilled using carbide twist drills and then reamed to match dimension. Axial slots for routing the inductor wires were shaped using a HSS blade.
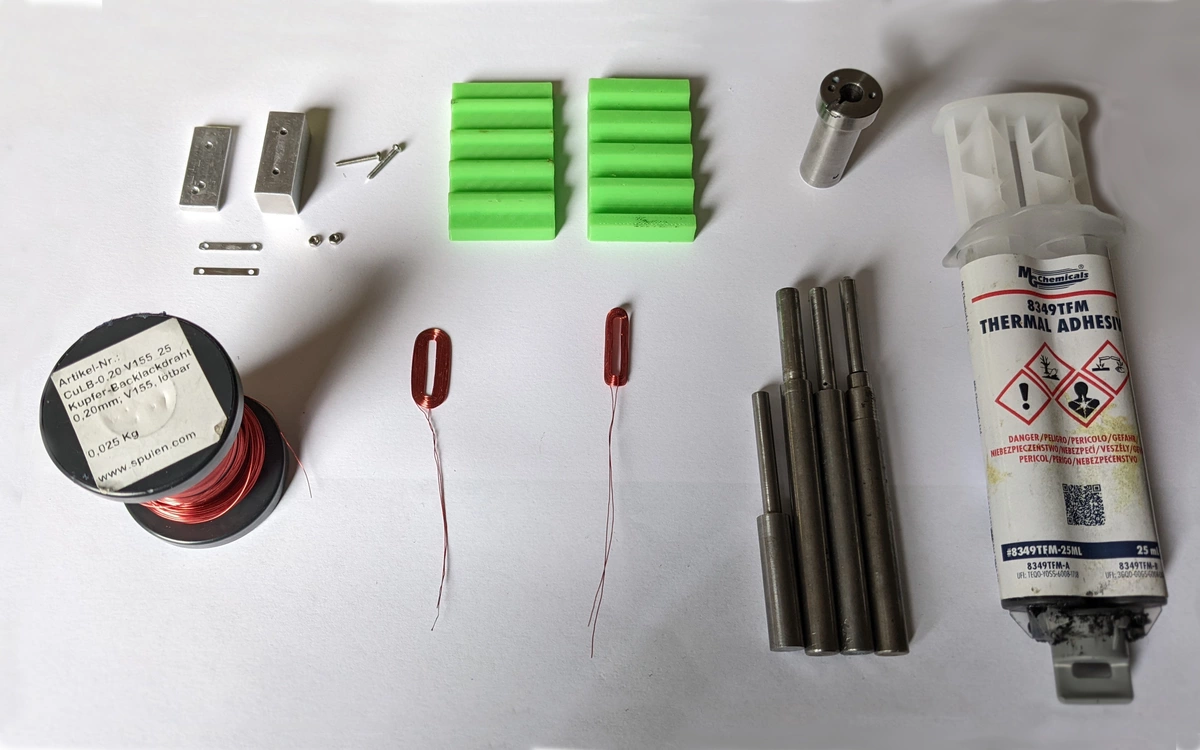
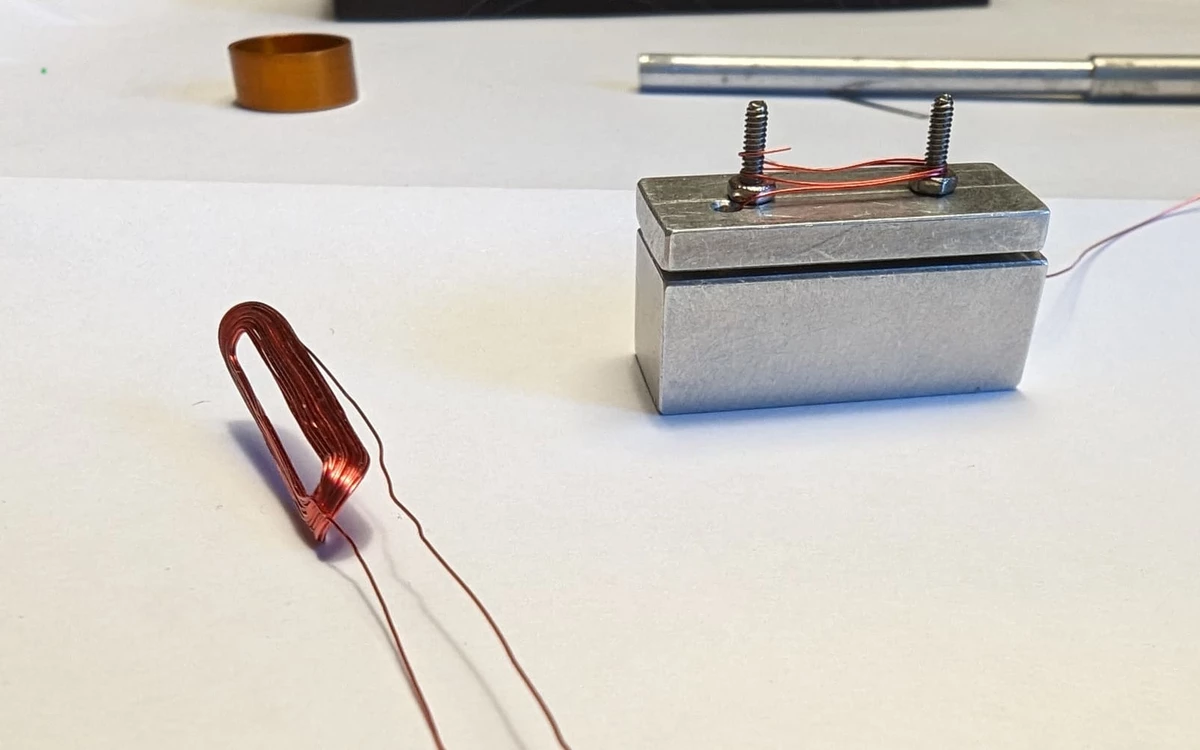
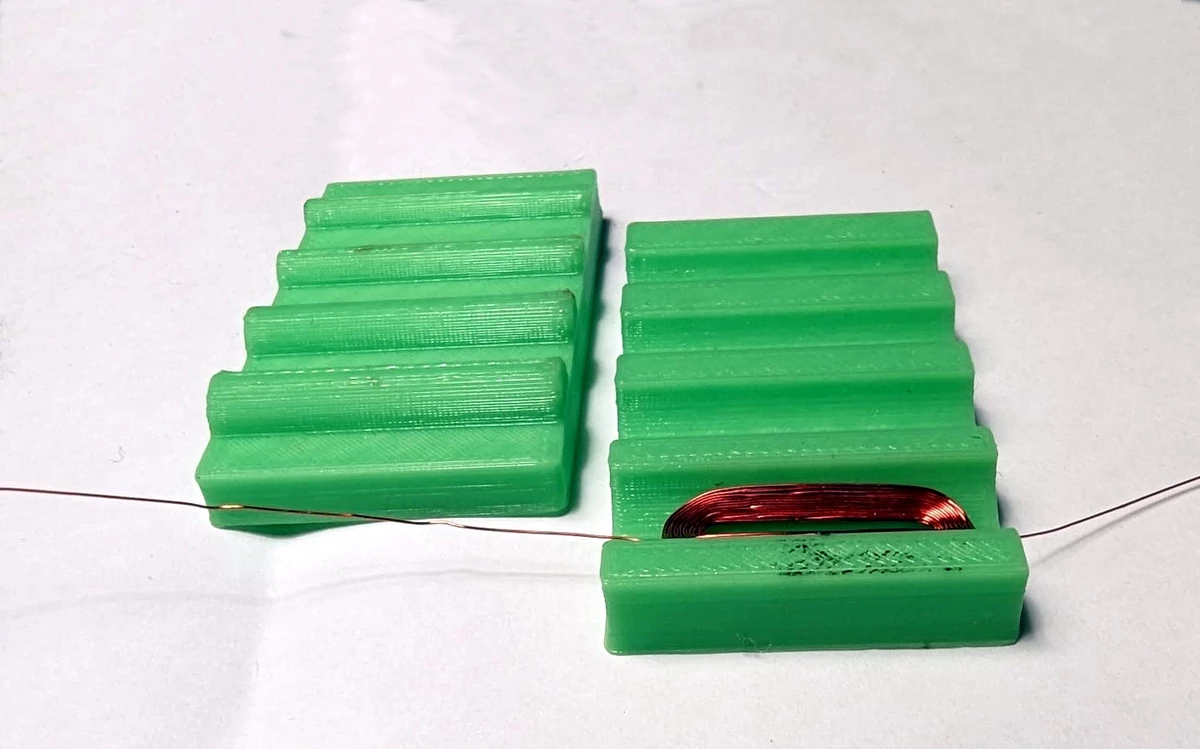
Stator coils were wound from self bonding enamel wire. I designed aluminum tooling featuring various spacer elements. The coil height was adjusted to maximize packing density minimizing thermal resistance. I used two 30 turn coils for one motor. The coils were bent using 3D printed tooling and glued into the stator bore with thermal adhesive. I machined more tools to align the coils. Introducing more turns generally produces more torque but also increases impedance and a higher back-EMF gain. To compensate, we need more voltage swing to retain high current slew.
I built an optical position sensor for my galvanometers. While capacitive or magnetic sensing was a popular choice for many DIY-projects, optical detectors are less sensitive to EMF noise generated by the actuator assembly. This greatly reduces shielding requirements and simplifies demodulator design.
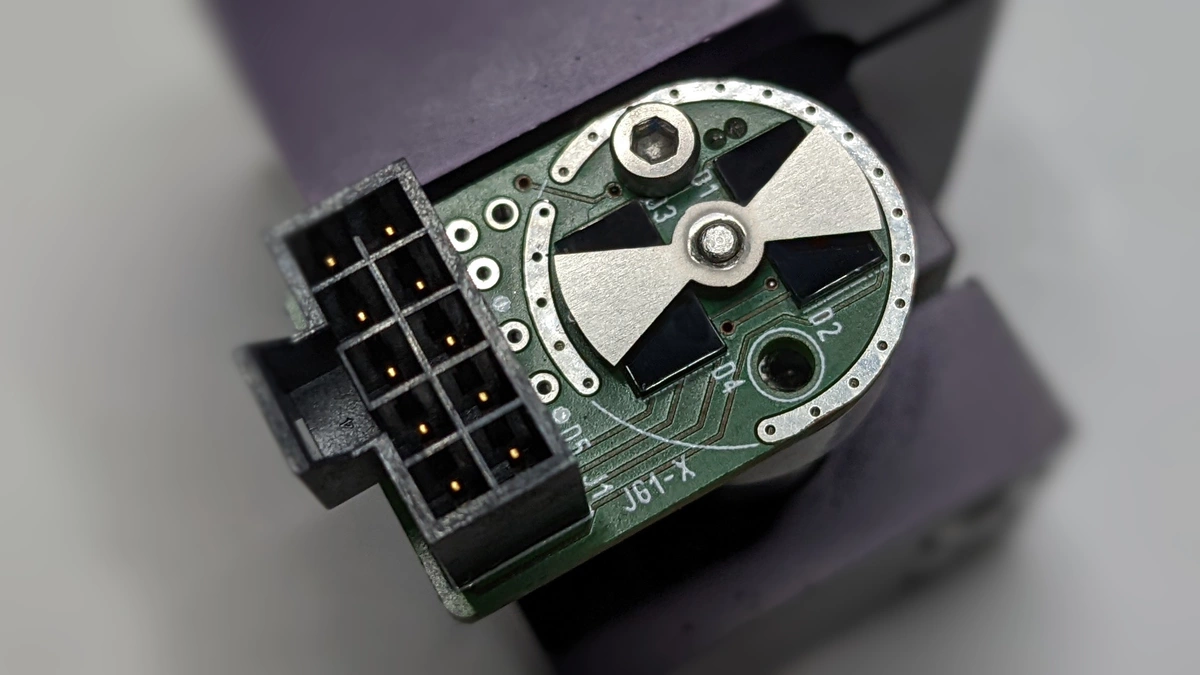
I mainly followed a axial differential detector patended by Richard Ivers in 1998. Variations of this design are widely used in high-end and higher quality chinese galvanometers. Two pairs of photo diodes are illuminated by a fixed light source. An attenuator mounted on the motor shaft blocks parts of the beam. The attenuator geometry is designed such that a linear relationship between rotor angle and photo diode current is obtained. Due to it's symmetry, this design largely eliminates error induced by non-linear photo diode sensitivity and emitter power density. Because there are two pairs of photo diodes, the detector output is differential. This allows the demodulator to reject most of the noise generated by the actuator coils.
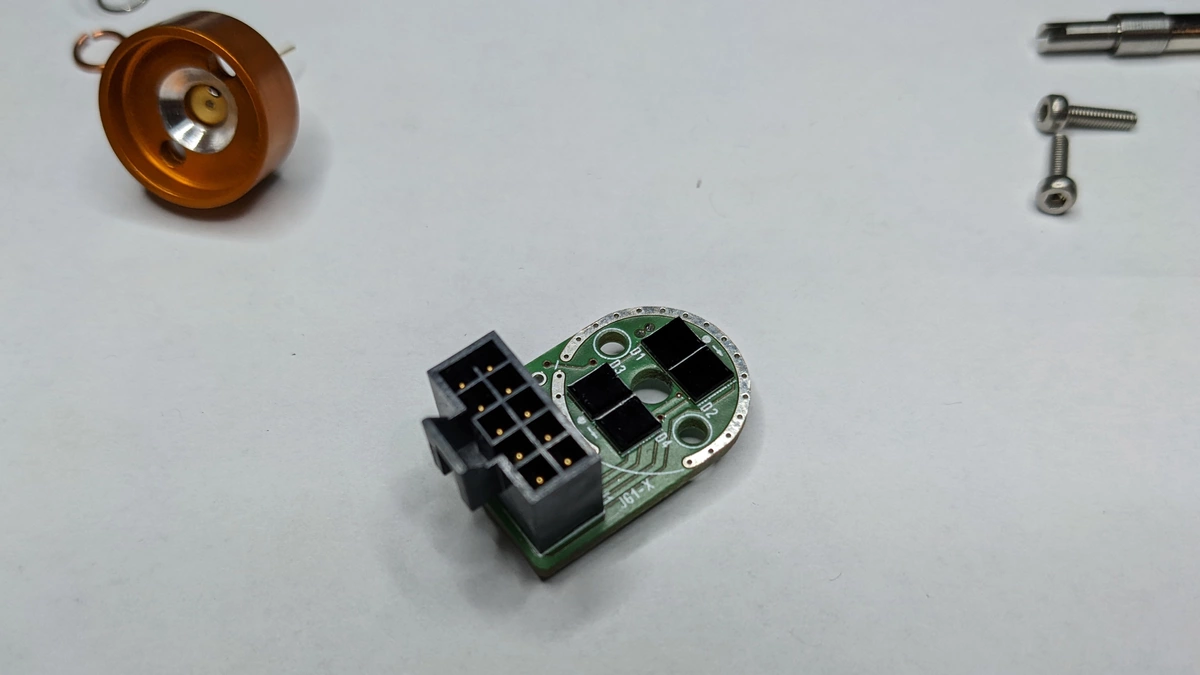
I used rectangular photo diodes for my position detector. The diodes were mounted on a piece of PCB that also connects to the coils. The detector is illuminated using a point source infrared emitter. I also added a NTC sensor for monitoring galvanometer temperature. The bow-tie-shaped beam attenuator was designed as a stainless steel SMD stencil and glued to the motor shaft. My detector design is not perfect, since it does not allow for large angle scanning. It does however only utilize standard parts and features good linearity ±15° around the center position.
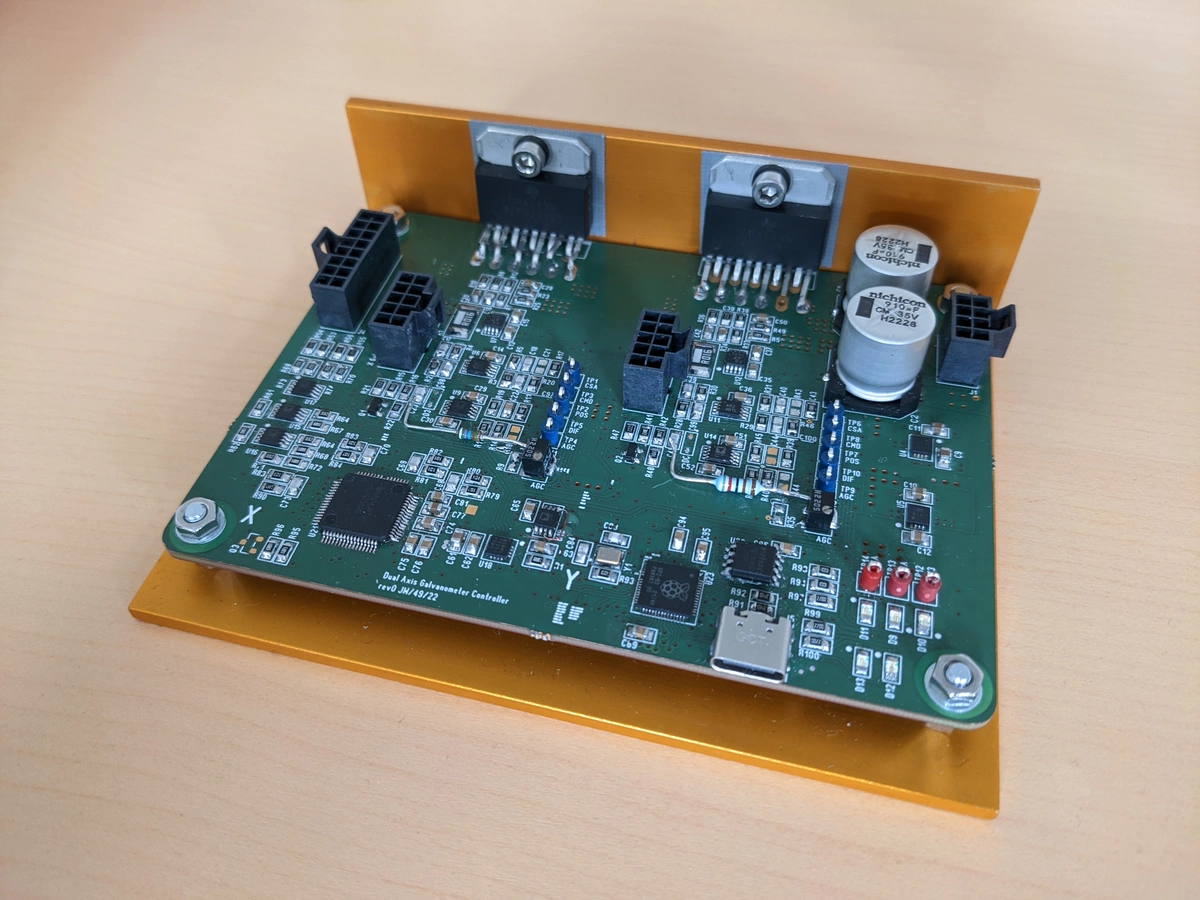
Photo diode current is converted to voltage using transimpedance amplifiers. Emission power is closed-loop controlled to stabilize the detector's proportional gain. Since the case of the IR emitter is at anode potential, a negative bias voltage is sourced.I designed a digital dual-axis servo driver for controlling the galvanometers. The system runs two P-D control loops at 200kHz update frequency. The controller implements gain scheduling for compensating system non-linearity. I used the very popular RP2040 dual core Cortex M0 processor. Data is read from the ADC and sent to the DAC using the RP2040's programmable io peripheral. Data is written/read from the PIO blocks using DMA.
The actuator coils are driven using 8A power operational amplifiers. Inductor current is measured using shunt resistors and current sense amplififers. A control loop was implemented for current mode control. Controlling motor current is better suited for controller design, since motor torque can be approximated as linear function of the inductor current. The controller rejects disturbances induced by motor temperature and back-EMF.
Data is sampled using a 8 channel simultaneous sampling SAR ADC. The position derivative is generated using an analog differentiator circuit and then sampled by the ADC. This technique achieves better derivative resolution when assembling the system state vector. Analog signals are read using two differential input stages or can be transmitted digitally using RS232. Control loop state is reported using an open drain output to signal system status.
If you are interested in galvanometer design you might also want to check out:
- W. Benner: LASER SCANNERS: Technologies and Applications
- J. Montagu: Galvanometric Scanners
in Handbook of Optical and Laser Scanning (G.F. Marshall, E. Stutz eds.) - Advanced galvanometer-based optical scanner design by R. Aylward
- Home Built Laser Projector by ChaN
